This sewing tutorial for silk scrunchies will be the only one you need in all your scrunchie projects whether for personal use or selling.
If you are just learning to sew and want to take on a project that you can complete in less then an hour you are in the right place. Here you will be learning how to sew a scrunchie and work with silk at the same time.
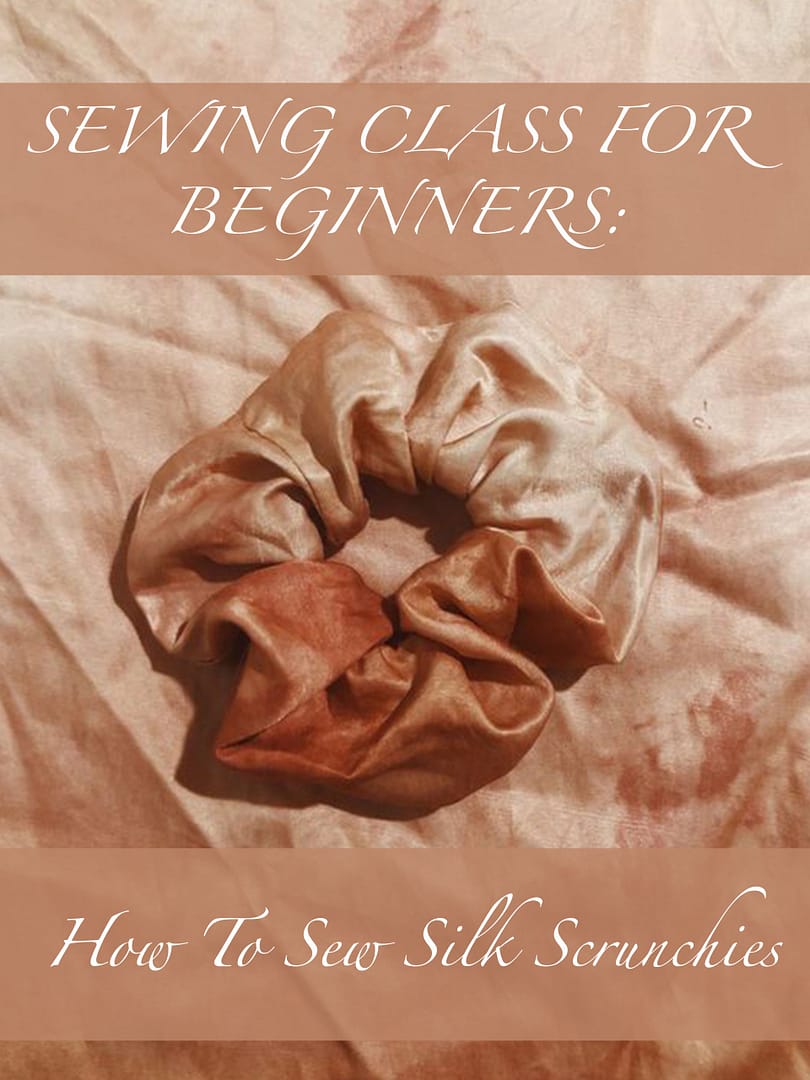
Most of the time I prefer to work with natural textiles such as linen, silk or wool. Although, this tutorial will work beautifully with any other type of fabric as well.
I had some left over silk from a previous project so I chose to use the scraps to make this scrunchie. You can find the undyed silk from dharma trading company if you are looking to buy some silk for your projects. I dyed mine with madder root. This root creates a vibrant and beautiful orange/red color. As you can see it has depth and dimension. If you want to learn more about madder root and how to use it follow this tutorial here.
Dyeing fabric is a fun skill to learn and makes your projects more unique.
Tips for sewing silk scrunchies:
Silk can be tricky to work with if you are just learning to sew but there are tricks you can apply to help you out.
Tip #1: Using a teflon foot for your machine is a must. I use it on all my projects to have a better handle on any type of fabric. This is the one I use.
Tip #2: Hand baste your seam before sewing with the machine. It can be tedious with a big project but can also save you lots of time. This is my favorite basting thread, because it eventually disintegrates in the wash.
Tip #3: Use lots of pins and walk your foot. Take out pins one by one as you walk your foot. You can get the best results this way if you want to avoid basting by hand. These pins here are the ones I use and are specifically thin enough for silk and won’t make visible holes in the fabric.

WHY YOU WILL LOVE SEWING SILK SCRUNCHIES WITH THIS TUTORIAL:
Working with silk: Learn some of my favorite go to tips and tricks about working with silk.
Can be completed in a short time: You will get instant gratification with this project because you can complete this project in less than an hour. These scrunchies are quick to learn and easy to complete.
Reuse fabric scraps: If you love sewing like I do, then you most likely have fabric scraps to sort through. Reuse those scraps and make them into scrunchies that you can give out as gifts or even sell online.
TIPS FOR SEWING WITH SILK FABRIC:
- use a teflon sewing foot on your machine, it will hold the fabric more taught
- baste your seam by hand before you do your final sewing stitch
- use lots of pins to keep fabric from slipping
- stitch very slowly with your machine
TOOLS AND MATERIALS:
fabric
scissors
sewing machine
matching tread
teflon foot
basting thread
silk pins
scrunchies
iron (I like to use my steam iron)
HOW TO SEW A SILK SCRUNCHIE:
Step 1: Cut fabric 18″ x 4″.
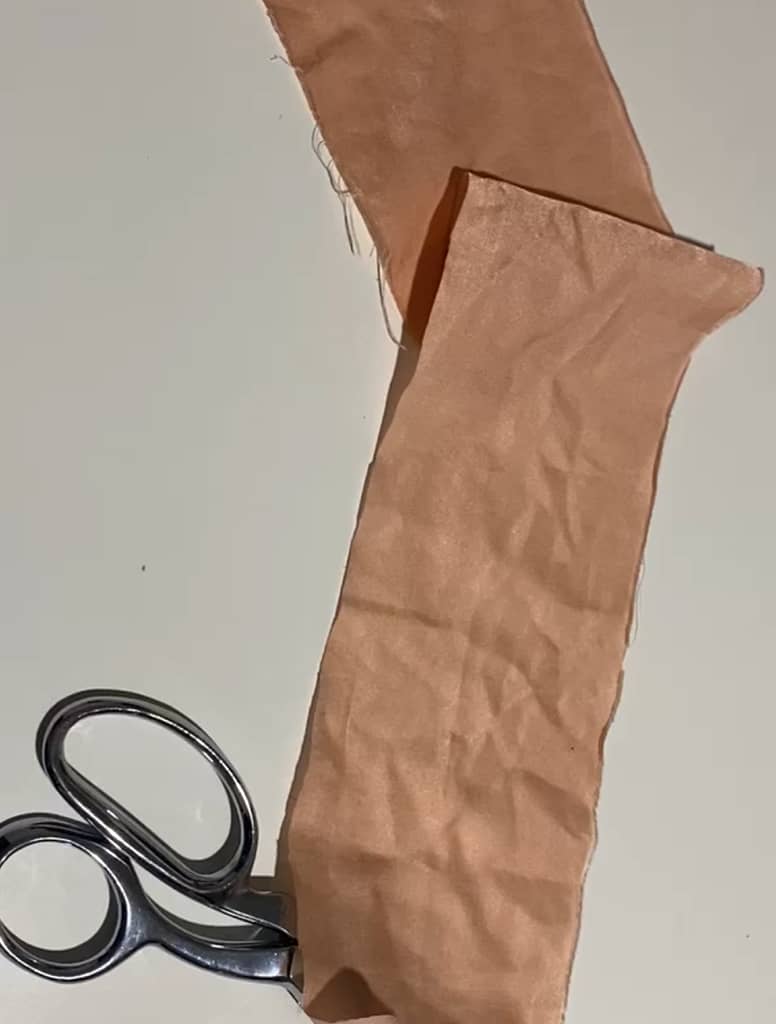
Step 2: Fold lengthwise right sides together and pin all around.
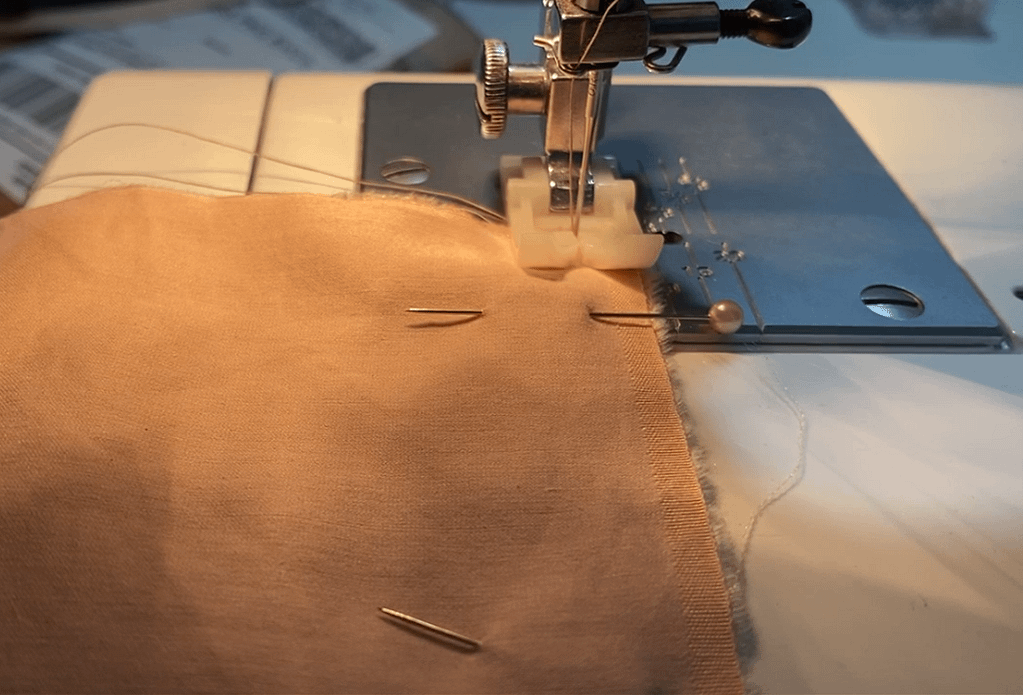
Step 3: Stitch at 3/8″ and trim the seam allowance.

Step 4: Slip elastic rubber band over the fabric.

Step 5: Match seams from bottom and pin as you sandwich top layer.

Step 6: Stitch at 3/8″ all around leaving 1″ opening.
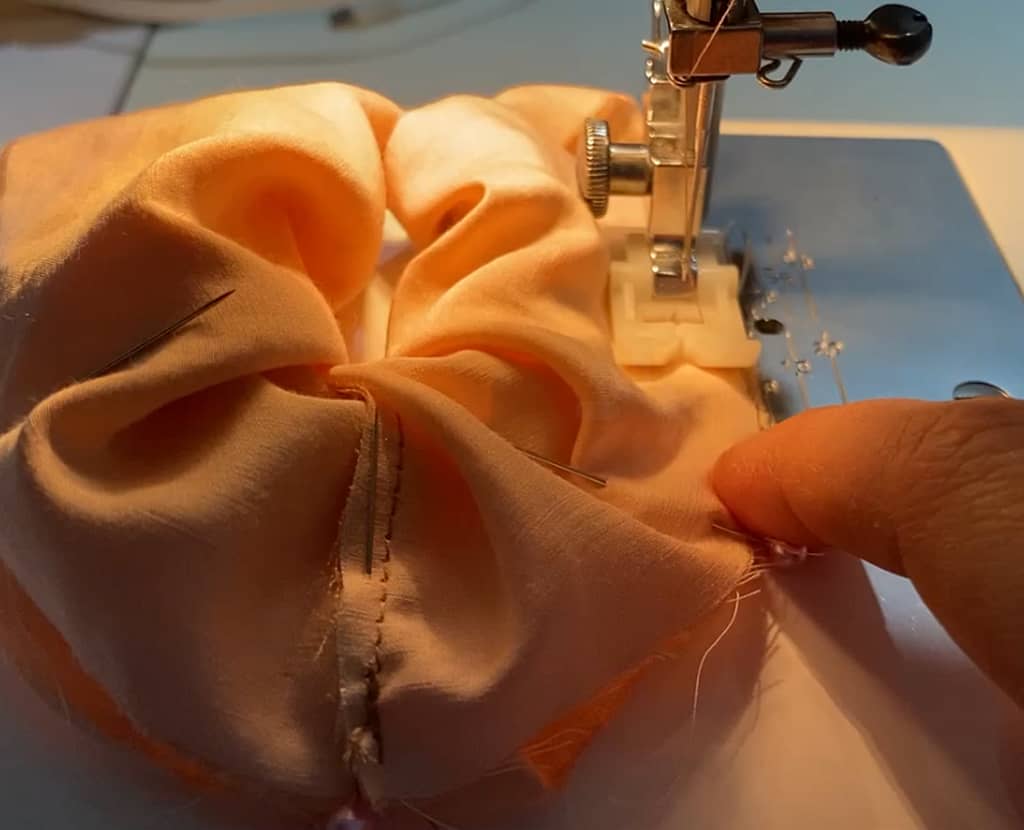
Step 7: Pull the fabric inside out. There will be a small hole about 1″ in length that you can either top stitch closed of slip stitch by hand.
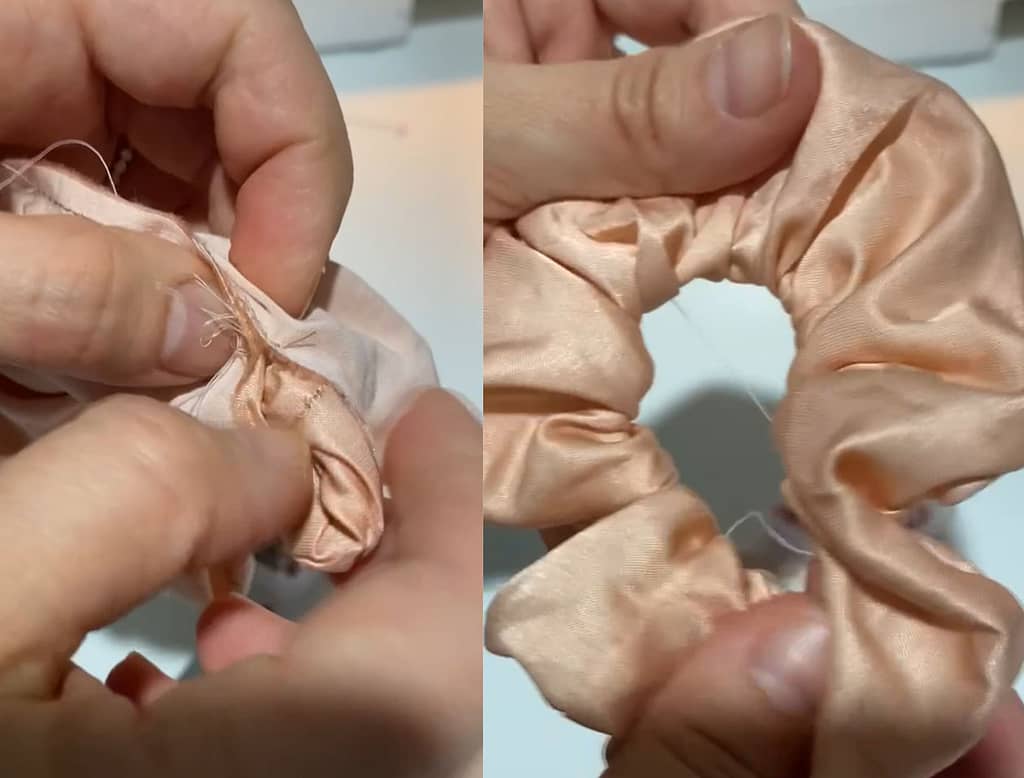
Step 8: Make a cute hairdo!
How to Style your Scrunchie:
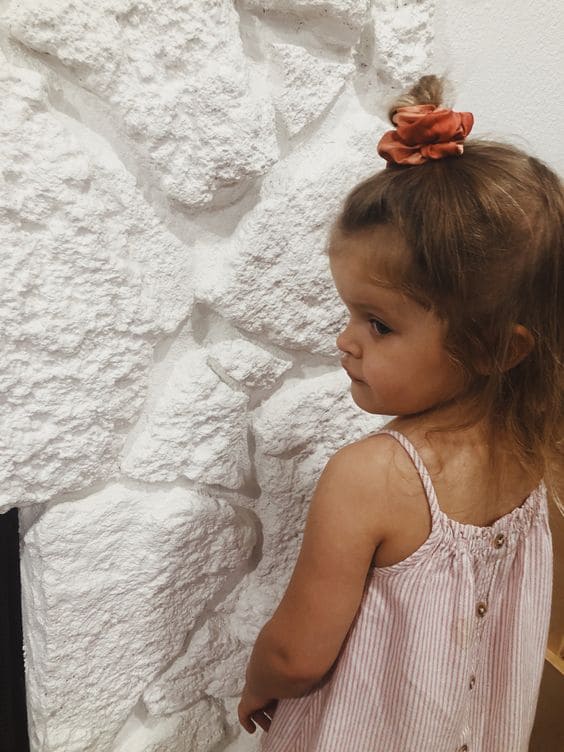
I loved silk for this project because I wanted to create a fluffy cloud look and because silk is very gentle on your hair. It is the best choice for hair accessories in my opinion.
Scrunchies have always been a popular and fun accessory to have in your hair or on your hand. They are a fun way to make your outfits fun and unique to you. Above is a fun clip on how you can too add a fun pop of color to your outfit.
What type of fabric did you choose to work with to create your scrunchies?
If you make this scrunchie and love it, I would love if you gave it 5 stars! Tag me on Instagram @homesteadsewing with your beautiful creation.
