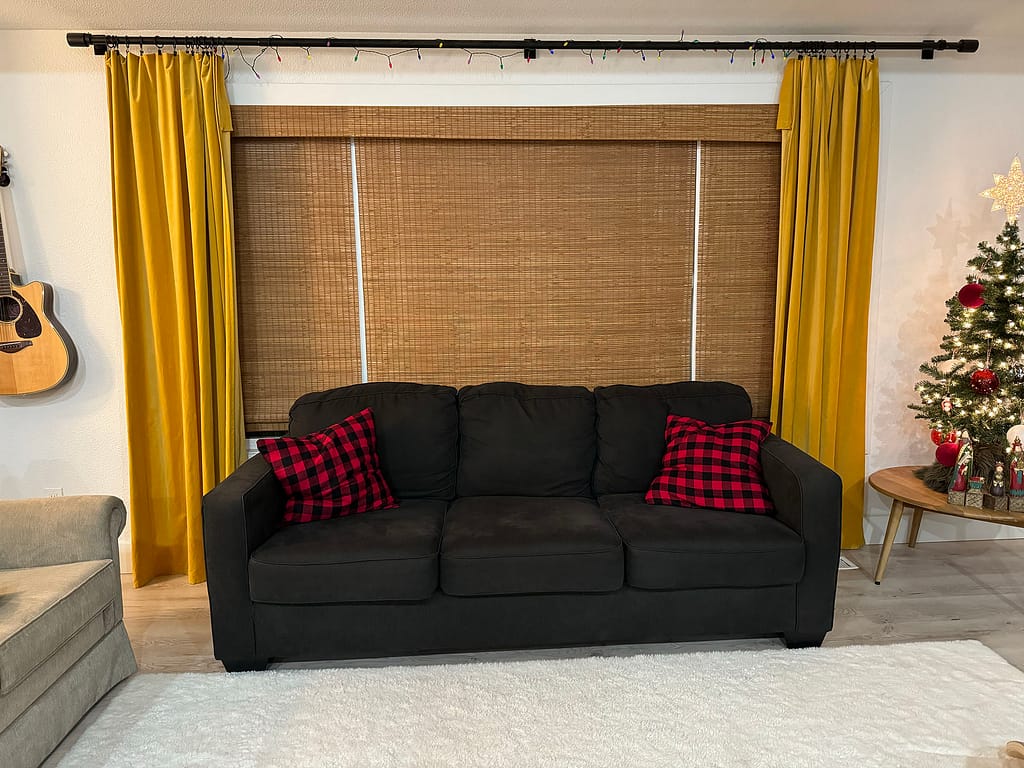
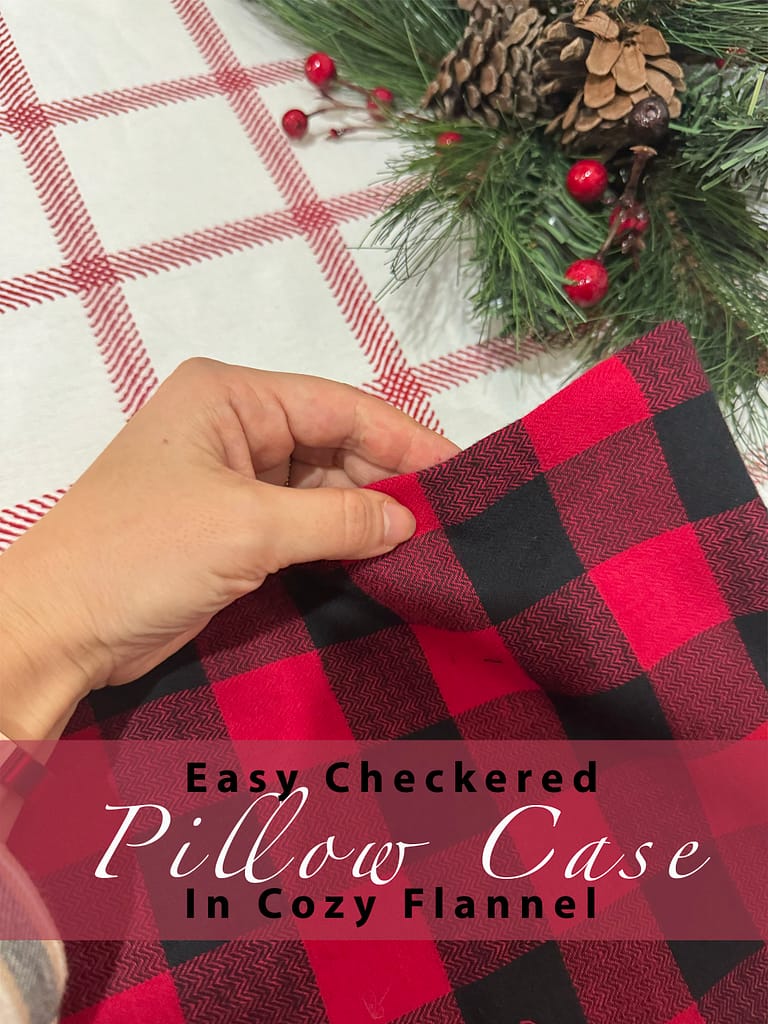
This easy checkered pillow case tutorial in cozy flannel is a great project for beginners! Practice sewing straight stitches on your machine and update your living room or bedroom look in under an hour.

I wanted to update my beige living room pillows with this bright red checkered fabric. Not only were they comfortable to lounge on but they really brought my Christmas decorations together and made it look and feel so cozy.

These flannel pillow cases came together really fast and my favorite part is that they have an envelope opening! This makes it easy to take on and off when you are ready for an update of just need to throw the covers in the wash.
They definitely pulled my Christmas decoration together and made a cohesive and fun look in my living room. I got lots of compliments for them and my kids just loved how soft and cozy the flannel is. Here I want to share this easy tutorial so you too can create a fun and cohesive look any time of the year.

TIPS FOR SEWING ENVELOPE PILLOW CASES:
- Before starting your sewing project, bring home a few fabric swatches to see how they will look in your space.
- Don’t be afraid of bold colors and patterns, depending on your personal style of course, but a pop of color or pattern is always interesting in any aesthetic.
- Fabric content matters! When you are at the fabric store make sure that the fabric you are choosing is pleasant to the touch, after all lounging on comfortable pillows is important 😉
WHY YOU WILL LOVE SEWING ENVELOPE PILLOW CASES WITH THIS TUTORIAL:
- They come together fast
- This tutorial is versatile, meaning you can apply it to any size of pillows.
- You can use it in any season
- No button or zipper sewing required
TOOLS AND MATERIALS:
- Checkered Fabric (or any fabric of your choice)
- measuring tape or clear quilters ruler
- black cotton thread (or thread color that matches your fabric best)
- Sewing machine
- Scissors
- pins
- iron
HOW TO SEW AN ENVELOPE PILLOW CASE:
1. Start with choosing your fabric. The best way to find fabric that goes well with your space is to get a few fabric swatches from the fabric store and see how well they look in your space. After you’ve decided what fabric you want, purchase the appropriate amount. I only needed about 1.5 yards for my project since I made two pillow cases. For the purpose of this tutorial I will go off the measurements of my pillow inserts which are 20×20 inches.
2. Cut one 20×20 inch square for the front of the pillow.

3. The back of the pillow will have an overlap. You will cut two pieces for this part that are 20×14 inches.
4. Using your clear quilters ruler fold over 1 inch in the middle for the insert part.

5. Press.

6. Fold over 1 inch again.


7. Edge stitch.

8. At this point you are ready to pin everything together.

9. Stichs all around and trim the edges.


10. Fold right side out and press. Make sure to really get those corners, I like to use a pencil to push into the corner just to make sure the edges are nice and crisp.

11. Insert your pillows and arrange your new cozy pillows!

I hope this easy checkered pillow case tutorial was a fun project for you. I would love to see your creations.
